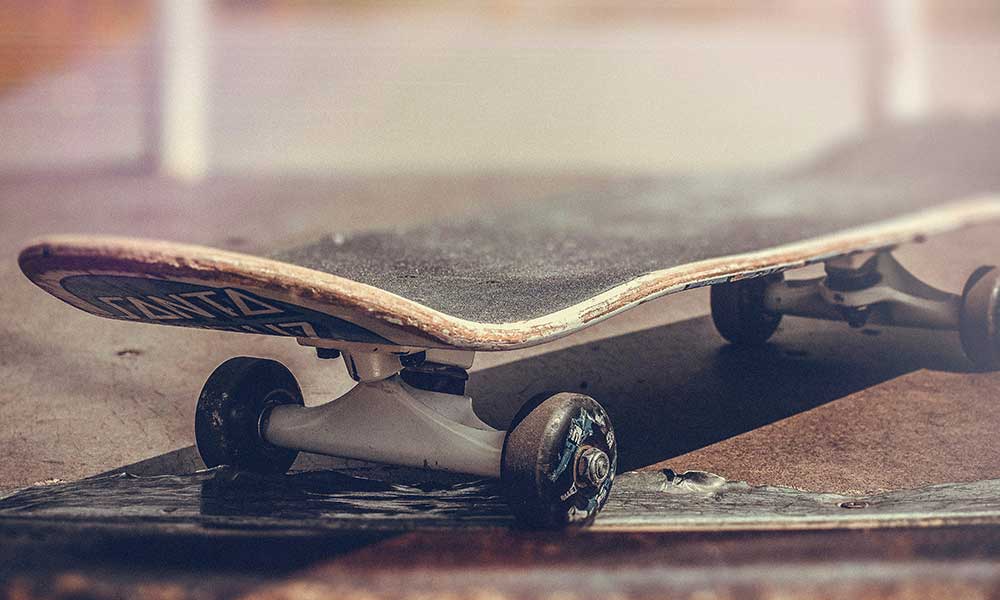
Do you dream of riding your own custom skateboard?
Have you ever wished you could make your own?
You can!
With just a few simple tools and accessories, you can create a skateboard deck that suits your style and fits you just right.
In this guide, we’ll show you how to make a skateboard deck in a few simple steps.
Step One: Gather Your Supplies
You are going to need to purchase a few items before you make your own skateboard deck.
Chances are, you may already have wood lying around.
But it’s unlikely you’ll have trucks, wheels, and the components that will make your board a board.
Go online or to your local skate shop and buy the hardware you need: trucks, bearings, mounting bolts, wheels, and grip tape.
These items can wildly vary in price, so shop around.
Then, decide how long or short you’d like your board to be. Buy or gather enough pressed plywood or hardwood to comfortably cut the board.
Your wood should be about one centimeter thick.
Finally, ensure you have the tools you need.
You’ll need a jigsaw to cut your wood, a router if you have one, sandpaper and a drill at the very minimum.
Now, it’s time to plan your skateboard deck.
Step Two: Design and Cut Your Skateboard Deck
What would you like your skateboard deck to look like?
Do you want a short board to zip around town on?
Or a longer board to practice specific tricks?
Draw your design on paper-graph paper is usually best-take your measurements carefully and transfer them to your plywood.
Remember to measure twice and cut once.
The more accurate your measurements are, the better your skateboard deck will turn out.
Once you’ve measured and drawn the design of your skateboard deck onto your wood, it’s time to cut.
Use your jigsaw to carefully cut around the design that you’ve drawn.
Step Three: Fine Tune Your Skateboard Deck
Once you’ve made your initial cuts, take a moment to sand your skateboard deck.
This likely won’t be your final sanding, but it’s worth it to identify any obvious rough spots now.
Run your hand along the edge of your skateboard deck, then use your sandpaper to round the corners and smooth the surface.
While you’re examining your skateboard deck, take the opportunity to drill holes for your trucks.
The placement of your trucks will depend upon the size you chose for your deck.
A good idea is to compare truck placement with a skateboard you feel comfortable using.
If you’ve chosen to use a router, it’s now time to use your tool to round the edges of your board.
If you don’t have a router handy, a rasp and fine grit sandpaper will do just fine.
Step Four: Customize Your Deck
If you want to paint the deck of your skateboard, it’s the perfect time to do it.
Any decals or stickers you’d like to permanently apply should be applied now.
You don’t need to be a talented artist to create something spectacular, as there are plenty of decals and stencils online and they can create some pretty amazing DIY skateboard decks.
Once you’ve customized your skateboard the way you like, cover it with a layer of Danish oil or polyurethane coating.
This will seal the wood of your skateboard deck and prevent warping, as well as preserve the decals and paint customizations.
Your grip tape comes next. You may choose to use two thinner strips of tape, or one wider size.
Apply the grip tape and trim to fit around the corners of your deck.
Finally, it’s time to attach your trucks! Adjust them in a way that’s comfortable to your skating style, then slide on the wheels.
Your DIY skateboard deck is finished and your skateboard is assembled.
Get out there and start riding it!
Conclusion: How to Make a Skateboard Deck
Congratulations, now you know how to make a skateboard deck! It wasn’t that difficult, right?
And even if you struggled, the good news is that it was all worth it in the end.
What’s more, you now know how to make a skateboard and when you do it again, it will be even easier!
If you still need a bit more information on how to make your own skateboard deck, read our frequently asked questions below.
What Kind Of Wood Should I Use To Make My Skateboard Deck?
In most cases, you’ll want to use a hardwood.
However, plywood is also durable and has a little “give.”
So, if you’re just learning how to skate and want a low-cost option, plywood will work just fine.
How Much Does it Cost to Build Your Own Skateboard?
All things considered, the trucks and other hardware are likely going to be the most expensive components of your skateboard.
You can buy a “cheap” set for as little as $15 or so.
The pricier skateboard brands can cost upwards of $100. Expect to spend an additional $30 to $50 on wood and other supplies.
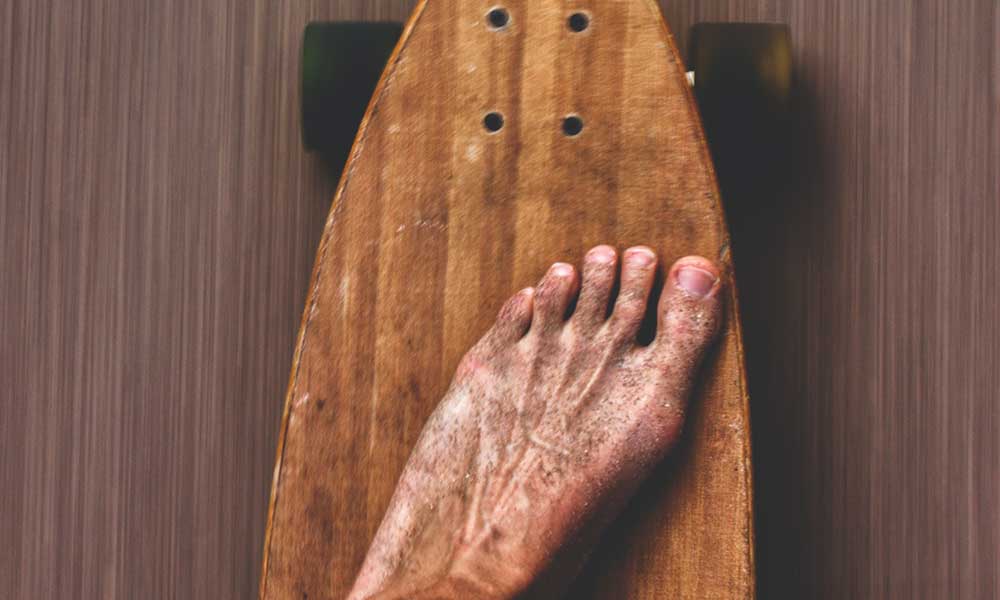
How Do I Create A Tail For My Skateboard?
If you’re interested in building your own skateboard deck with a curved tail, you’ll need to use pressed plywood.