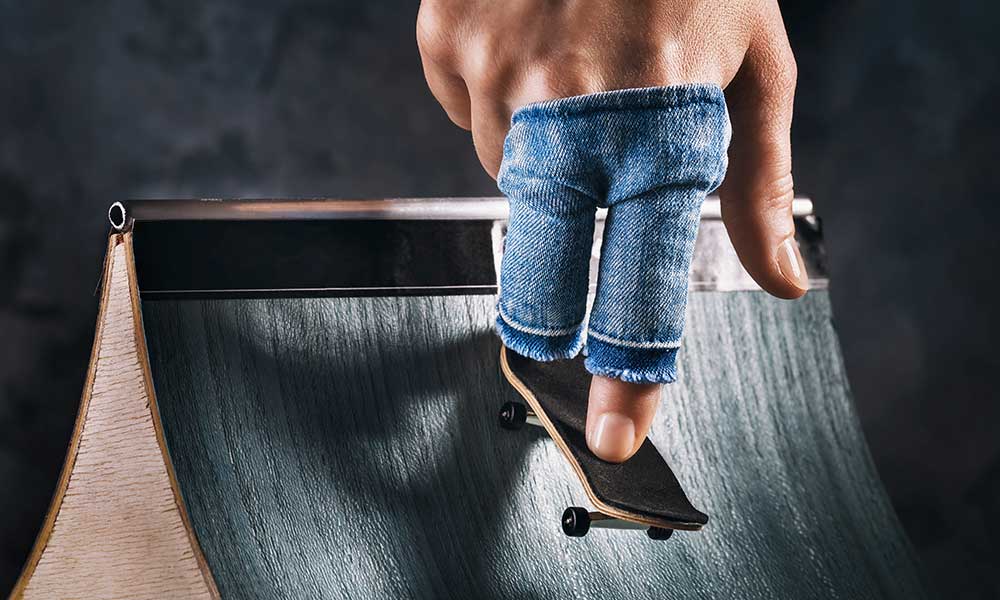
There are many ways in which skateboarding is superior to fingerboarding. With fingerboarding, you can’t feel the wind in your hair as you race downhill or the satisfying claps and cheers as you land a big trick. But there is one area in which it is superior: the fingerboard park.
After all, unless you’re living in the lap of luxury, you probably don’t have the cash or the space to build your very own skatepark in your garage. You can’t craft a ramp from a little concrete and a few spare minutes. But with fingerboarding, you can do those things and so much more.
In this guide, we’ll show you how to create your own fingerboard park and obstacles, and if you’re not very hands-on, we’ll point you to the best retail options. Amazon has quite a few fingerboard skateparks to choose from.
How Do You Make A Concrete Fingerboard Park?
Creating your own fingerboard park is much easier than you might think. To begin with, you will need some basic materials:
- A Wooden Base
- Styrofoam/Polystyrene
- Ready-mix Concrete
- Skateboard Stickers
- Spray Paint
Prepare the Base
The first step is to create the base of your park. For this, you will need a plank of wood shaped to the size that you want your fingerboard park to be. Once you have the wood, you will need to glue some borders to the edges to create lips. The easiest way to do this is to trim a couple of inches from all sides of the wood, flip them, and nail/glue them back on.
The end result should be a square/rectangular plank of wood with raised edges.
Make Your Ramps
- Mark and cut the polystyrene blocks into the shape of kickers, ramps, and other obstacles.
- Cut them roughly to begin with just to get an idea of the shape, and then shave them and sand them to create the necessary slopes, curves, and other shapes needed for your fingerboard park ramps.
- Glue the newly created “ramps” to your fingerboard park base.
- Make sure you lay them down to judge where they will go and how they will look before you use any glue.
- Leave the glue to dry.
3. Add Concrete to the Ramps
- Mix your concrete, grab a trowel, and layer the wet concrete onto the ramps.
- Smooth the concrete with the trowel and/or knife.
- Leave to dry.
4. Add Concrete to the Base
- Place a thin layer of concrete over the base (the spaces between the ramps).
- Leave everything to dry.
5. Sand, Paint, and Decorate
Your fingerboard park will look a little rough and dull at this point, but there’s a long way to go!
- Give everything a once-over with some sandpaper and make sure you smooth out any rough parts.
- Once you’re done, you can start painting and adding some skateboard stickers, foliage, and other obstacles.
Get creative—you basically have your very own skatepark and complete freedom to graffiti it!
How Do You Make A Fingerboard Obstacle?
Whether you’re adding obstacles to your homemade park or just using them for quick practice, there are a few easy ways to get some authentic fingerboard obstacles without spending a fortune.
Idea 1: Handrail
Door and cupboard handles make great handrails. You can find these at your local hardware store or you can salvage them from scrap yards. Simply glue them to your park and you have a handrail that’s ready to grind!
Idea 2: Ramps
If you’re not keen on the idea of using concrete and creating a big fingerboard park, just reach for the hot glue gun, grab some cardboard, and get creative. You can make your own ramps by gluing pieces of cardboard together.
Idea 3: Wooden Walls
You don’t need to be too elaborate when it comes to fingerboard obstacles. If all you need is something to jump over, just grab a few pieces of wood and build your own little wall. You can paint it, cover it, or just leave it as it is.
Idea 4: Popsicle Sticks
Save your popsicle sticks and glue them together to create benches, boxes, crates, and other fingerboard obstacles. Benches can be tricky, but you can start with a simple box or crate and work your way up.
Summary: Fingerboard Parks and Obstacles
Whether you’re a novice learning about this activity for the first time or an expert ready to step up, these fingerboard parks and obstacles will help you get more from your hobby.
It’s like creating your very own world of miniatures, one that you can tweak, change, and expand at will.
But it’s also a world that serves a practical purpose and will greatly enhance your skills as a fingerboarder.