Grip tape is a material that is applied to a skateboard deck to make it more gripable.
It contains a tacky adhesive on one side and a gritty layer on the other.
The easiest way to install grip tape on a skateboard deck is to take your board to a skate shop.
They have plenty of experience and will install it quickly and relatively cheaply.
However, with a little preparation and practice, you can install grip tape on your own board.
In this guide, we’ll show you how.
How to Apply Skateboard Deck Grip Tape
Applying grip tape is surprisingly easy, and there are a few simple steps to follow:
Step One: Buy Your Grip Tape
You can buy quality grip tape from a number of manufacturers, including Alien Ware, Mob, Speed Demons, and Black Magic.
Just make sure you’re buying grip tape sheets designed for skateboards.
Skateboard grip tape comes in rectangle sheets.
It’s not designed to fit your board perfectly and is actually designed to cover all of the board with room to spare, so you’ll have to cut the excess away.
Step Two: Clean and Flatten Your Skateboard Deck
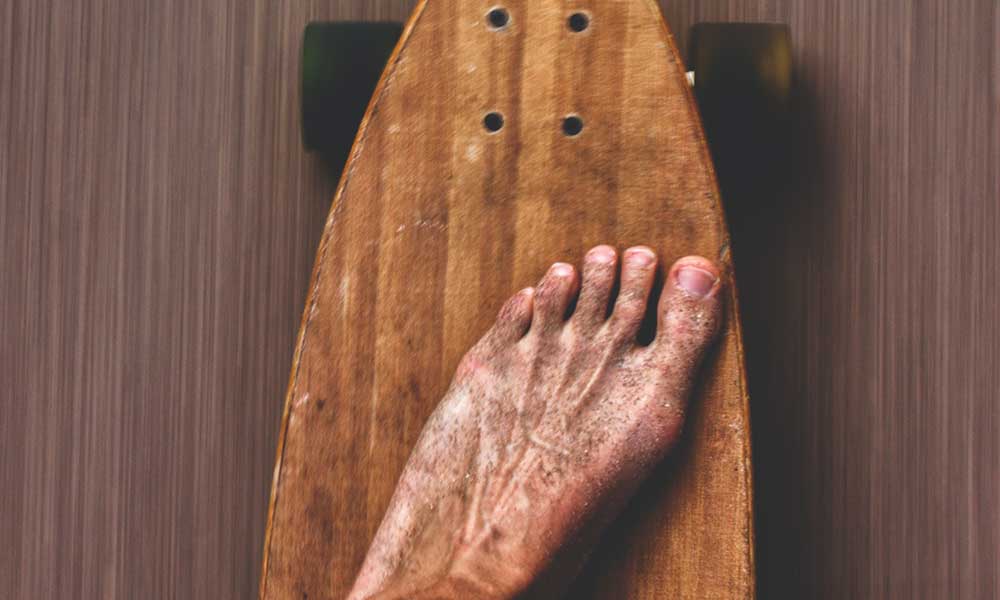
Place your skateboard deck on a flat surface, with the curved ends pointing upward.
If your deck has any old grip tape on it, you will need to remove this first.
It’s a simple process, but it can take a little time and you may need to blast it with the hairdryer to loosen it.
Give the deck a thorough clean to remove adhesive, stains, and anything else that could cause bumps and bubbles in the new tape.
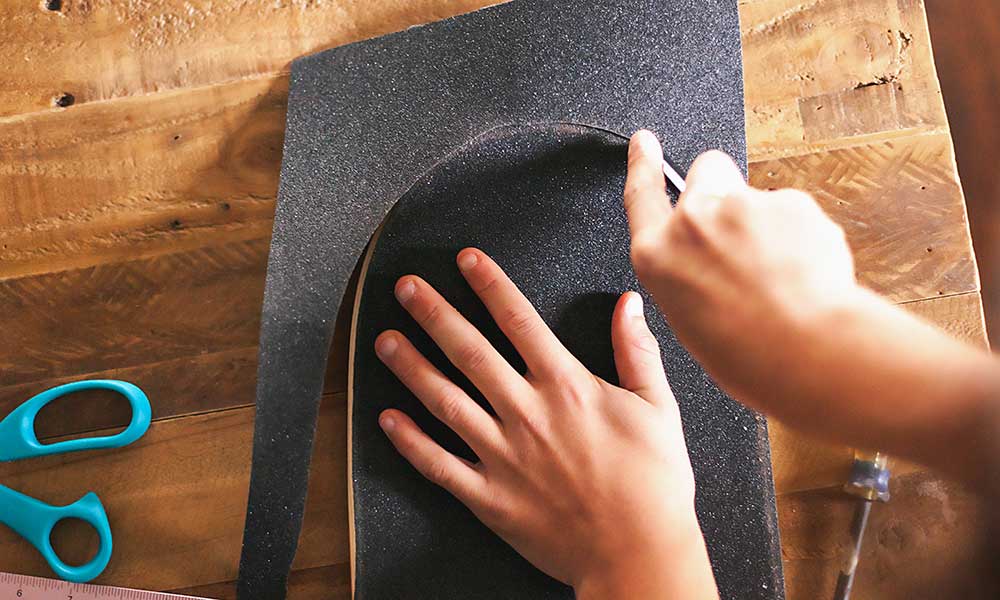
Step Three: Line-Up and Peel Back
Check that the grip tape lines up with the board and that you have an adequate amount to cover all of it.
Place the grip tape over the skateboard deck, peel it back, and place the edge on the nose or tail of your board.
It’s a similar process to installing a protective screen cover for your phone or a vinyl print for your walls.
The idea is to peel back a little to begin with, make sure it fits, and then add more.
Step Four: Apply Grip Tape
Putting grip tape on your skateboard deck can be a nuisance, but if you take your time and add it bit by bit, it shouldn’t be a problem.
Smooth the grip tape as you apply it, being careful to remove air bubbles.
Step Five: Trim Edges with a Razor Blade
You will need a sharp knife like a box cutter to remove the excess grip tape.
It should cut away quite easily.
Make long and steady cutting motions to ensure that there are no ragged edges.
After you have removed the extra grip tape, it’s time to get out the sandpaper and smooth everything down.
Step Six: Flatten Air Bubbles and Find Holes
If there are any air bubbles, flatten them out.
If they are large, you can use your box cutter to make small incisions to pop them before flattening them.
Once you’ve finished, simply look for the screw holes (where the trucks go) and poke them with a screwdriver.
You can use another board to see where the holes are or just guess and make a small incision before cutting a larger hole when you’ve found it.