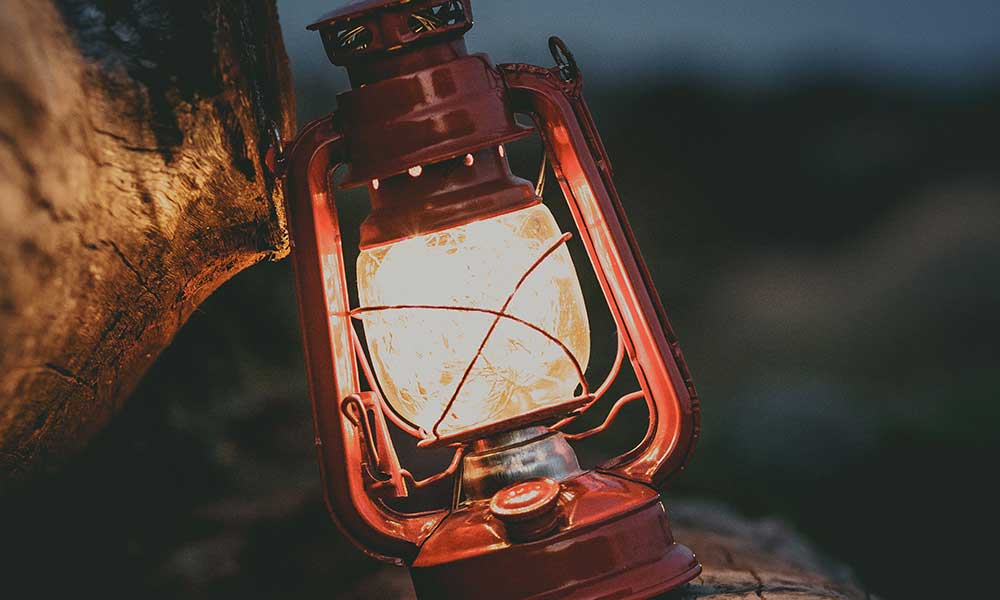
There is a Western cowboy nostalgia surrounding the image of a percolator bubbling away over a campfire. Then there is that aroma wafting up into the crisp morning air. But sometimes, the reality of drinking it is just awful, tasting like dirty water or burnt mud. But, like everything in the Old West, there’s a knack for brewing camp coffee in a percolator.
Making percolator coffee while camping requires coarsely ground coffee. Once the water begins to boil, move it away from direct flames and allow it to percolate for 5 to 10 minutes. A hard boil will produce a bitter brew. The quality of the percolator matters; avoid tin as it leaves an aftertaste.
The three biggest mistakes made when percolating coffee while camping is:
- Using a cheaper brand of coffee you don’t enjoy
- Leaving the percolator on the flame
- Using a cheap and nasty percolator
Avoiding these three mistakes while following instructions will help up your camp-coffee game.
Making Camping Coffee In A Percolator
The hardest part about making percolator coffee is waiting. It “only” takes 5-10 minutes to brew. But that is after you get the water hot enough, which for a quart of water can take up to ten minutes. But if you can muster enough patience, the rest of the process is pretty simple.
Step 1: Check Your Camping Percolator
If your camping percolator is your great-great grandfather’s tin model, stop making coffee in it. Tin makes coffee taste terrible. By all means, preserve the family heirloom with a lovely craft project you found on Pinterest or fill it with air plants. But don’t drink anything out of it. Instead, buy yourself a decent camping percolator made of enamel or stainless steel.
Step 2: Prepare Your Camping Percolator
If you have a nice percolator, your second step is to ensure it has been cleaned since the last time you went camping. If it looks good, just give it a little rinse or a quick wash with a smidge of dish soap and a non-scouring cloth or sponge. But you need to do a deep clean if it looks like it contains the scum of every cup of coffee your ancestors ever drank.
Deep Cleaning Your Camping Percolator
Deep cleaning your camping percolator takes a bit of time. To avoid doing this often, don’t leave grounds sitting in it for long, especially not overnight.
- Clean your percolator best you can with water and dish soap
- Fill your percolator with water and place 1/8 cup of baking soda in
- Place another 1/8 cup of baking soda into the basket
- Bring the percolator to a boil and let it roil for 5 min
- Carefully empty it (oven mitts and dish towels are your best friend)
- Give the percolator a spray and rinse
- Fill your percolator just below the max line, then toss in ½ cup of vinegar
- Bring to a boil, letting it roil for around 5 min
- Rinse
Don’t scour your percolator. Use a soft toothbrush if you need a little help.
Step 3: Prepare Your Camping Coffee
As we mentioned above, one of the most common camping percolator mistakes is using a cheaper brand of coffee you don’t usually drink or enjoy. It’s never going to taste good if you don’t like it in the first place.
Use coffee you enjoy, and make sure the grind is coarse enough to suit the percolator’s basket. If you fear the coffee turning out too strong, get a filter for your percolator.
Step 4: Add Water To Your Camping Percolator
Add water to your camping percolator, corresponding with the number of cups you wish to make.
Do note that if you think the water at your campsite tastes funny, then your coffee is going to taste “funny.” So bring water from home to make your coffee unless you enjoy the water at your site.
Step 5: Add Coarse Coffee Grounds To Your Camping Percolator
Now you add the coarse coffee grounds to your camping percolator’s basket: 1 heaped tablespoon per cup of coffee. As mentioned above, if you fear this will be too strong, look into filters for your style percolator.
Step 6: Bring your Camping Percolator To An Almost Boil
Set your camping percolator on your camp stove at medium heat, or do your best over the campfire. Then wait until the siphon (window at the top, often in the nob) shows a sputter. That’s “boiling” in camping coffee terms.
Step 7: Move The Camping Percolator Away From The Flame
As soon as you see that splutter, move the percolator from the flame to a warm, but not hot, area of the fire. If you are using a camp stove, turn it down to low. Failure to do this will result in burnt-tasting coffee.
Many people muck this step up. Trust the process, people. Burnt coffee can’t be solved with mustard as done with burnt hotdogs.
Step 8: Let Your Camping Percolator Brew for 10 Minutes
Camping percolators require 5-10 minutes to brew after the first splutter is sighted. We like ours to wait for the entire ten, but some folks find this a bit much.
Step 9: Remove The Camping Percolator’s Basket
Once your 5-10 minutes of brewing is finished, you must remove the whole basket and apparatus. Do this with patience and care, as steam will flood out and the metal is hot.
Step 10: Replace Lid To The Camping Percolator & Wait
Yes, there is more waiting, between 2-5 minutes, after you’ve removed the basket. This allows any escape artist grounds to settle to the bottom of the percolator. But if you don’t mind a bit of grit, feel free to skip this step.
Step 11: Enjoy Your Camping Percolator Coffee
You’ve done it. You can now pour yourself a nice mug of percolator coffee. Just remember, if you are using a tin cup, your coffee will taste weird. After all that hard work, give yourself the gift of a decent camping mug. Go on; your coffee deserves it.
Conclusion
Making good camping percolator coffee is about patience, cleanliness, quality ingredients, and avoiding using tin. Also, resist the temptation of speeding the brewing process up by leaving your coffee to roil over a flame. We wish you many delicious camp coffees ahead.