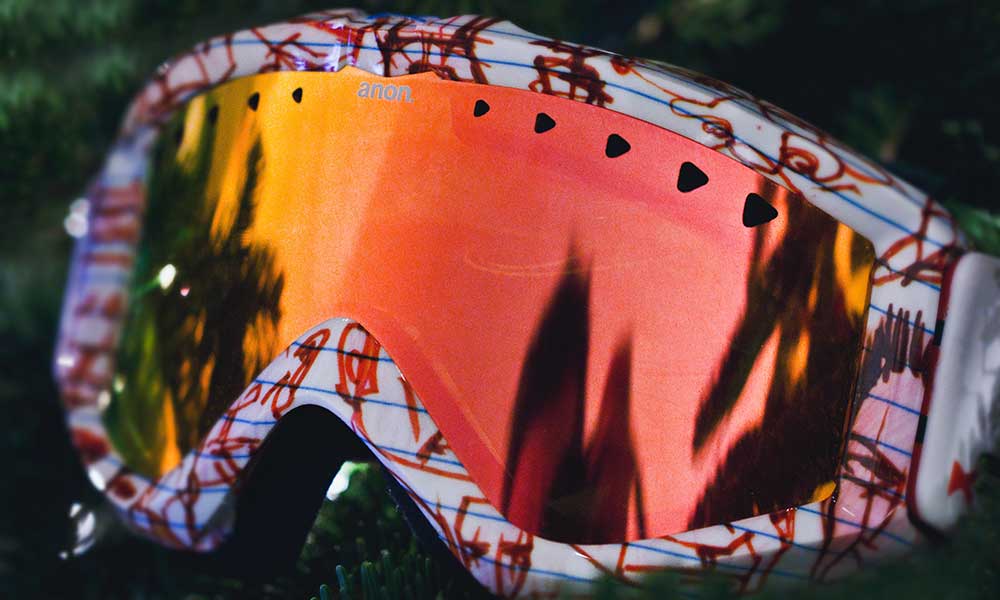
Should you spray paint snowboard bindings? Is it an easy job? Will it hurt your bindings?
Here’s everything you need to know about painting your bindings.
Can I Paint Snowboard Bindings?
Yes, you can paint snowboard bindings, but whether you should or not is debatable.
It is a relatively easy process, but there are a few potential pitfalls, including:
The Bindings Will Scratch
Bindings take a beating, and if they are covered in several layers of paint, it will chip, crack, scratch, and look terrible.
Scratches will appear on your bindings even without paint, but unless there are a lot of them, they’re not really noticeable. If they’re painted, it’s hard to miss all of those deep cuts.
The Paint Layers Will Crack
Bindings are designed to flex and move. If you have spray painted multiple paint layers, the paint will probably crack with those movements.
You might not notice it right away, but that movement will eventually destroy even the most professional paint job.
You Might Make a Mess
If you don’t know what you’re doing and aren’t very good with DIY, you could make a costly mess.
The paint could get on your board and even in the mechanisms, thus creating something that looks terrible and takes away from the functionality of the bindings.
It might seem like an exaggeration, but it happens, especially if you don’t use the right paint or prep.
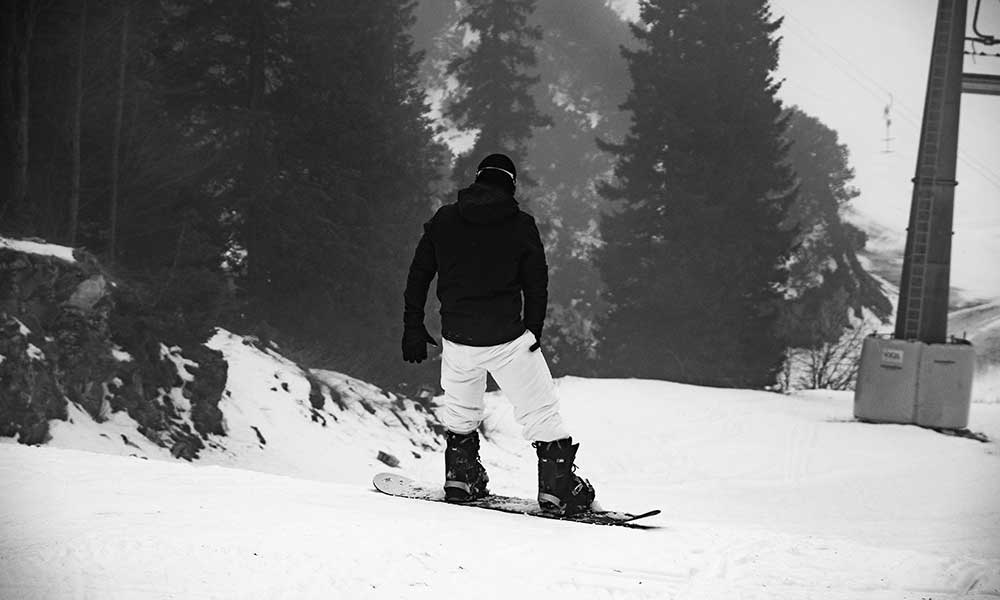
Can You Spray Paint Ski Bindings?
Our advice is the same for ski bindings as it is for snowboard bindings. It can be done, but you should think twice about it, especially if you don’t really know what you’re doing.
How Do You Paint Snowboard Bindings?
While there are potential issues with painting snowboard bindings, it’s not the end of the world if you whip out some spray paint and apply a few coats.
Sure, the paint might crack, but you can always just spruce it up when that happens. What’s more, if you have a pair of old bindings and just want to give them a little color to make your Instagram snaps look good, what’s the problem?
Here are a few tips to keep in mind when painting your bindings.
1. Prepare the Bindings
Before painting your bindings, you need to make sure they’re prepared so that the paint sticks.
Clean and degrease the bindings and rub them dry when you’ve finished. You should also pick up a primer, as you’re going to be exposing the paint to a lot of water and extremely cold temperatures.
2. Always Use Spray Paint
Spray paint is really the only way to go when painting snowboard bindings.
Look for a type of spray paint designed to bond to plastic, as well as a paint that is durable and will withstand getting pelted by rocks and dirt.
3. Cover the Areas You Don’t Want Spray Painted
Use painter’s tape to cover all of the areas you don’t want to be painted, including the surface of your snowboard.
If you have a specific pattern or multi-color image in mind, place the tape on the binding surface. You don’t have a lot of space to play with, though, so it’s best to keep things simple.
4. Spray Away
It’s time to start spray painting! Make sure you’re in a well-ventilated area with old papers/sheets around the board to protect your floors.
You should also check the instructions on the back of the can and make sure you stay the optimal distance away.
5. Apply Multiple Layers
Apply several light coats of paint, being sure to wait for one coat to dry before you add the next.
What Do I Need to Paint My Bindings?
As noted above, you only need a few basic materials to paint your bindings.
These include a primer and the actual spray paint, as well as painter’s tape (or any other special tape that will keep the area clean without leaving too much adhesive behind).
Can I Spray Paint My Snowboard?
Although spray painting bindings isn’t always a good idea, there’s usually no harm in painting your snowboard, providing you do it right.
The first step is to remove the bindings and clear the board, being sure to remove all wax and dirt. You’ll also need to remove any stickers you have on the board. These can be tough to peel away, but a little solvent should help.
Once you have cleaned and degreased your snowboard, follow these steps:
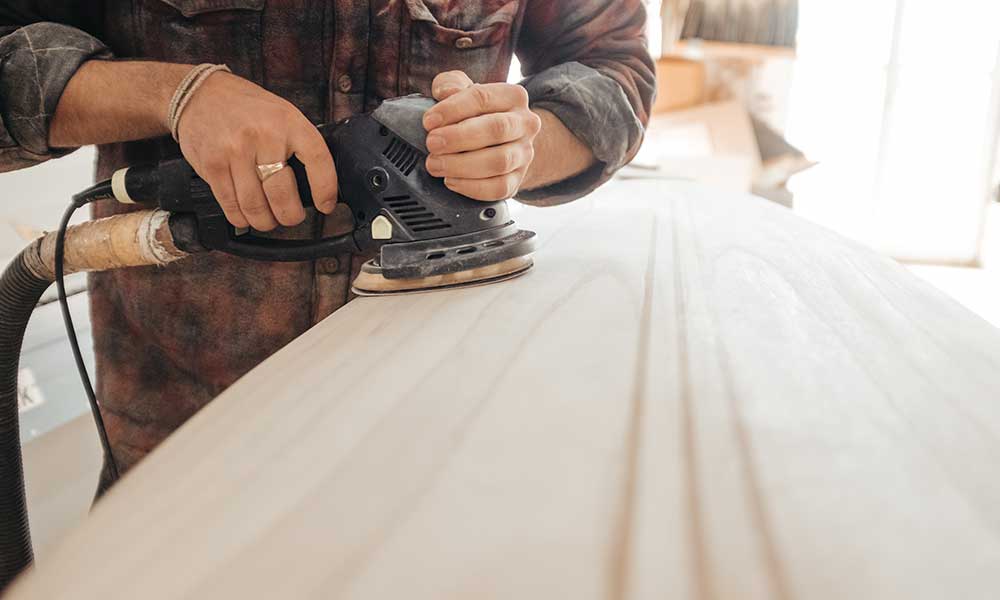
Step One: Sand The Board
Use sandpaper to rub the board until it’s smooth. Begin with coarse sandpaper and advance to fine grit sandpaper, finishing only when the board is completely smooth.
Step Two: Use Acetone
Apply a little acetone to a rag and run it over your board. Clean the rag, soak with water, and clean again.
Wait for the snowboard’s surface to air dry before moving to the next step.
Step Three: Use Painter’s Tape
Apply painter’s tape to the edges of the board and the binding holes, making sure the wet paint doesn’t drip down and through.
Step Four: Start Painting
Place the spray paint can about 6 to 8 inches from the board and start spraying.
Begin with a base color and cover the entire board, moving your hand in a smooth back-and-forth motion to ensure that everything is evenly coated.
Apply a few coats.
Step Five: Add Your Designs
When all of the base coats have been applied and the board is dry, use the tape to create a stencil design.
Grab another color and spray again. As above, if you’re using multiple coats or creating more intricate patterns, make sure that all coats are dry before applying new ones.
Five Six: Wait, Dry, and Remove the Tape
Give your snowboard at least 24 hours to dry before removing the tape slowly.
Apply a coat of acrylic to protect the design and improve its durability.
How Do You Get Acrylic Spray Paint Off Bindings?
So, you decided to paint your bindings, made a mess, and now you need to clean them up.
What should you do?
You might be tempted to reach for the acetone, but this would be a bad idea. It will remove the paint, but it could also dissolve the plastic.
Instead, use a little rubbing alcohol, preferably something that is at least 70% alcohol.
Add a few drops to a Brillo pad and start scrubbing!