If you have good DIY skills, basic tools, and a few hours to kill, why not consider making your own snowboard?
If snowboarding is your passion and you want a completely unique and tailormade board that no one else has, this could be the way to go.
How Do You Make A Homemade Snowboard?
You could be forgiven for thinking that snowboards were just strips of wood and epoxy. To an extent, that’s true, but those strips of wood and epoxy need to hold up against countless jumps, spins, and falls. They need to withstand extremely cold temperatures and constant exposure to moisture.
To make a snowboard that rides well, feels right, and lasts far beyond your first few rides, it can get quite complicated.
Take a look below to make your own custom snowboard.
Step One: Get Your Materials Ready
The materials you need can vary and are easily substituted, but the following will serve as a basic guide:
- Strips of laminated wood
- A P-Tex base sheet and top sheet
- Epoxy resin
- Fiberglass
- Inserts for bindings
- Old snowboard (or template)
- Aluminum sheet
- Packing tape
- Magnetic tape
- Super glue
- 2x4s
- Clamps
- Foam
- Exacto knife or jigsaw
- Sandpaper of varying grit
- Belt sander (optional)
Remember to always wear gloves and a face mask when building your custom board.
Step Two: Decide Where to Build the Board
Building a snowboard requires a lot of drilling, cutting, and sanding. It can get messy, so set up a space where you can work freely and don’t need to worry too much about sawdust.
Your workspace should be well-ventilated and with your tools in easy reach. It’s best not to work outside, as you could be hampered by rain or wind.
Step Three: Make Your Mold
Grab some of those 2x4s, pick up an old snowboard with a shape that you like, and create a mold.
Simply place the board on its side atop one of the pieces of wood and then sketch the outline. You’ll have something that resembles a longboat shape, with a long flat line that curves up at both sides.
Repeat this process for another 5 pieces of wood and then glue them all together, with the curved sides pointing in the same direction.
You’ll need to follow the same process with another 6 pieces so that you have two large snowboard-shaped wood blocks that sit on top of one another.
Step Four: Prepare the Wood Core
Use the old snowboard to sketch a flat outline on the P-Tex before cutting it out with a jigsaw or knife.
Glue strips of wood together, wait for them to dry, and then use your base to cut out a wooden shape.
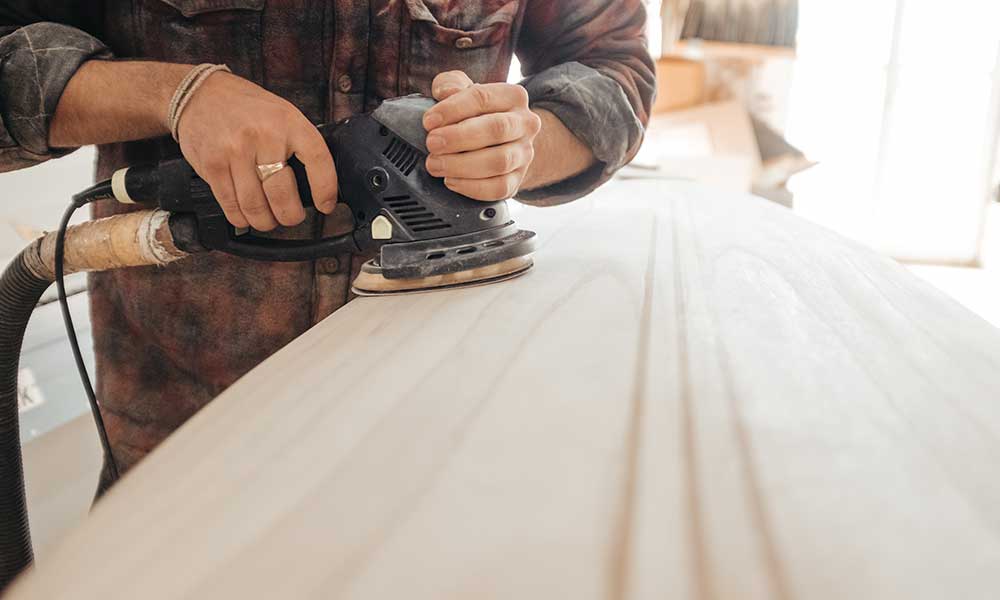
Sand the wood core down to make sure it’s even throughout.
Step Five: Trim Your Aluminum
Cut strips of aluminum to run along the edges of the board. These metal edges can be pressed into the wood using clamps.
Steel edges can also be used.
Step Six: Create Inserts for the Snowboard Bindings
Create inserts for where the bindings will go. Choose your inserts and drill holes that go as deep as the base of the inserts. They should be graduated through-holes the diameter of the mounting hole.
Use epoxy resin to secure the inserts before adding a strip of magnetic tape.
Step Seven: Cut Your Fiberglass
Cut two pieces of fiberglass, prepare your epoxy resin, and begin applying the material to the base of the board.
Make sure there are no air pockets between the board and the fiberglass. Apply epoxy to both sides of the core and press. Finish by layering the fiberglass top sheet.
Step Eight: Press Your Snowboard
This is where you use the wooden mold that we created earlier.
Place foam sheets on the top and bottom of the board, slip your board inside the mold and attach the clamps.
This giant makeshift sandwich press needs to be left for a few hours.
Step Nine: Remove Excess Materials
After removing the board from the press, use a jigsaw or knife to remove the excess fiberglass, drill your mounting holes, and you’re good to go.
The finished snowboard is now ready for the slopes!
What Materials Are Used To Make A Snowboard?
At the very least, you will need some sheets of P-Tex, a few pieces of wood, some epoxy and fiberglass, and the tools needed to bring them all together. You must also think about binding inserts.
If you have a little more experience, consider painting your board, adding stringers, and making tweaks that will better suit your riding style.
When it’s your first board, however, it’s best to keep things simple. Your first effort won’t be the best, but it should be ridable and when you’re familiar with the process and materials, you can try again and improve on your previous attempt.