Carving is a useful technique for all snowboarders to have in their arsenal.
It helps them to maintain speed as they turn and can also set them up for big jumps.
There are a few ways that you can master the art of carving, and that’s what we will look at here.
Edge Stacking
The first step is to learn how to shift your body weight to the toe edge of the snowboard.
You can practice this technique indoors—you don’t need to be on the slopes.
Bend your knees, hold onto something, and push your toes forward so that you are forcing your weight over the toe edge of the snowboard.
Once you’re in this position, you just need to push your hips forward onto the toe-side edge, as if carving through the snow.
You can do the same with the heel-side edge of your snowboard, except you’re shifting your weight onto your heels.
Practice Your Toeside and Heelside Carve
The next step is to put your snowboard carving to the test on the slopes.
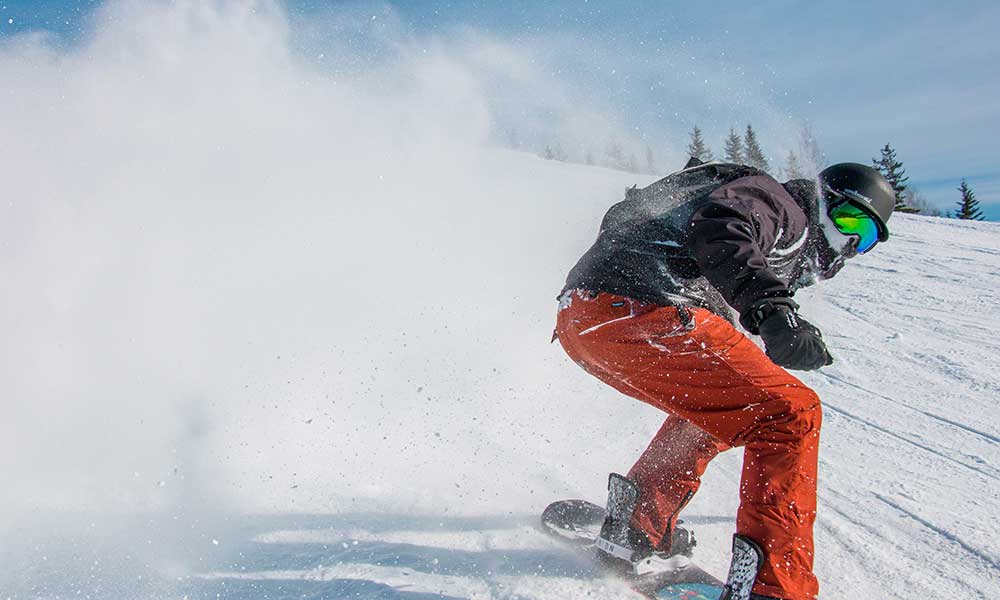
Look for a run that doesn’t have a lot of people (or any) and move down the slope, going from a toe-side carve to a heel-side carve.
Try to keep your body straight and your weight centered through the edge change and remember to keep those knees slightly bent.
As with anything else, practice makes perfect.
The more you learn, the more you can do, increasing your speed, picking longer, faster, and busier slopes, and learning to carve like the pros.
Summary: Carving and Edge Control
If you’re brand-new to snowboarding, there are a few things that you need to learn before you start carving up the slopes.
Simply staying on the snowboard is the first step, and then you have to learn how to fall without hurting your wrists, and how to get on/off ski lifts without embarrassing yourself.
But once you get those basics down, you can practice carving, stopping, and other basic snowboarding moves.
There’s a lot to learn, but when you get over the basics and can stay upright without great issue, snowboarding becomes an incredibly fun sport.

