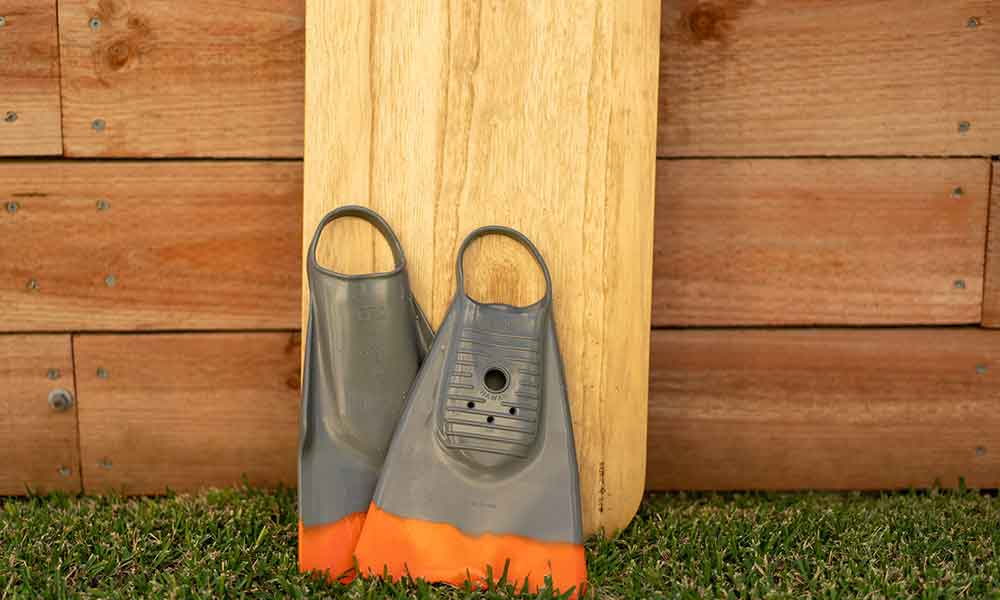
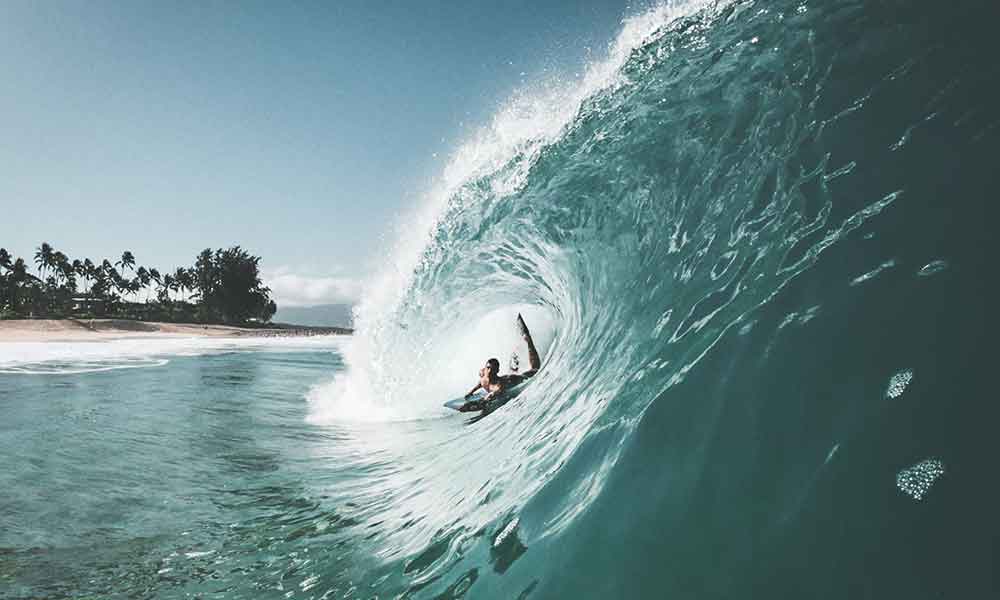
A paipo is a surfboard designed to be ridden prone.
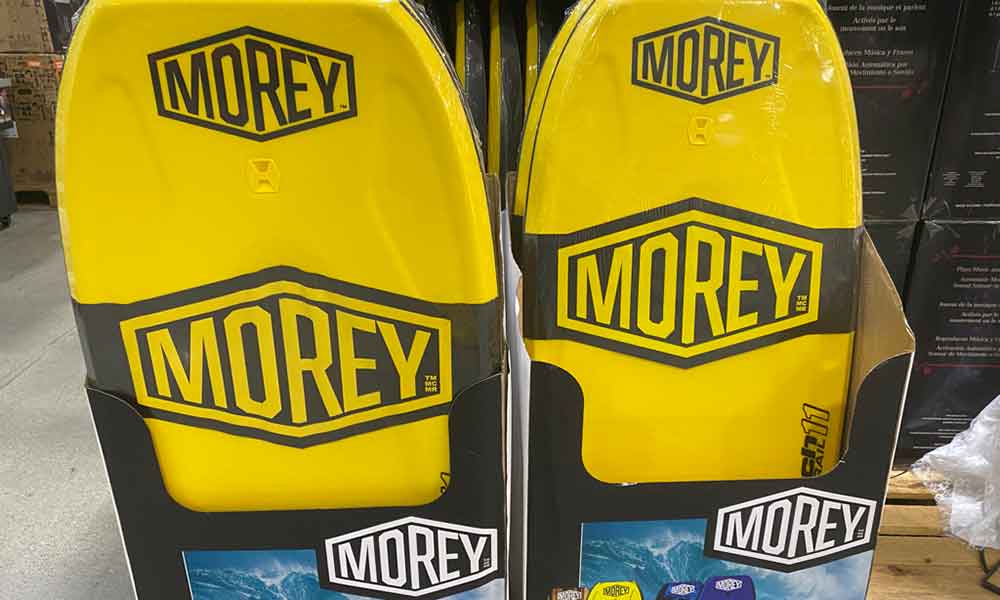
Also known as a belly board, the paipo is considered by some to be the first bodyboard, as it was in use long before the famous Boogie Board invented by Tom Morey.
There are many differences between a paipo and a Boogie Board, though, including the wooden construction and the fact that paipo are slimmer and narrower.
How Do You Pronounce Paipo?
The word “paipo” is pronounced how it looks: “Pipe-oh”. It comes from the Hawaiian “pae po’o”, which references the act of surfing headfirst.
How Do You Use a Belly Board?
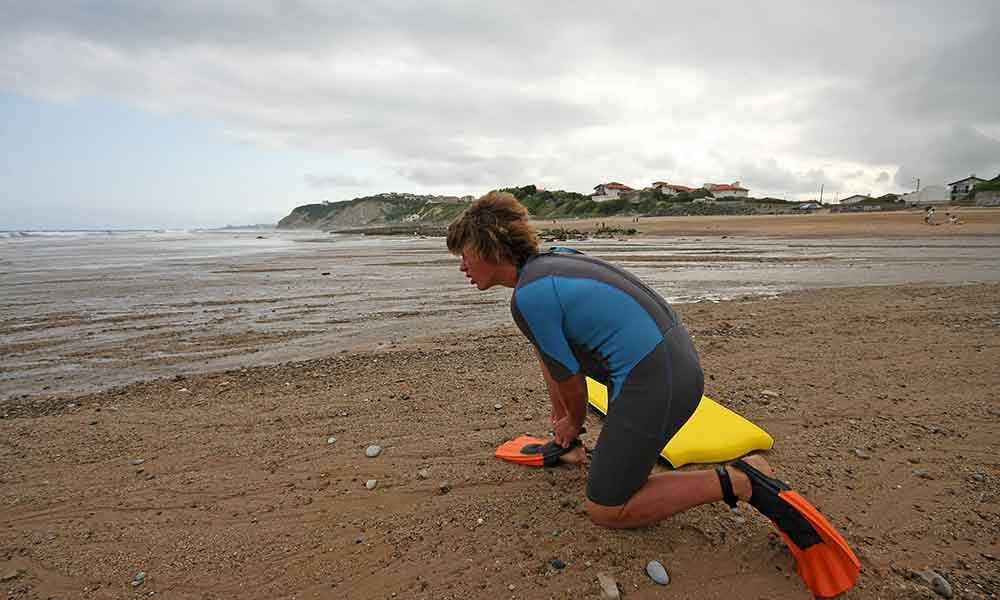
Once you have your wetsuit and paipo, it’s time to hit the waves.
Take the board into thigh-high water so that you can push from the bottom.
Press the tail of the paipo board against your hips while holding onto the tail. You may need to stick your backside out a little to assume this position.
Look for a strong wave and wait for it to arrive, with your back to the incoming wave.
Just as the wave is about to hit, jump forward so that you land flat on the board.
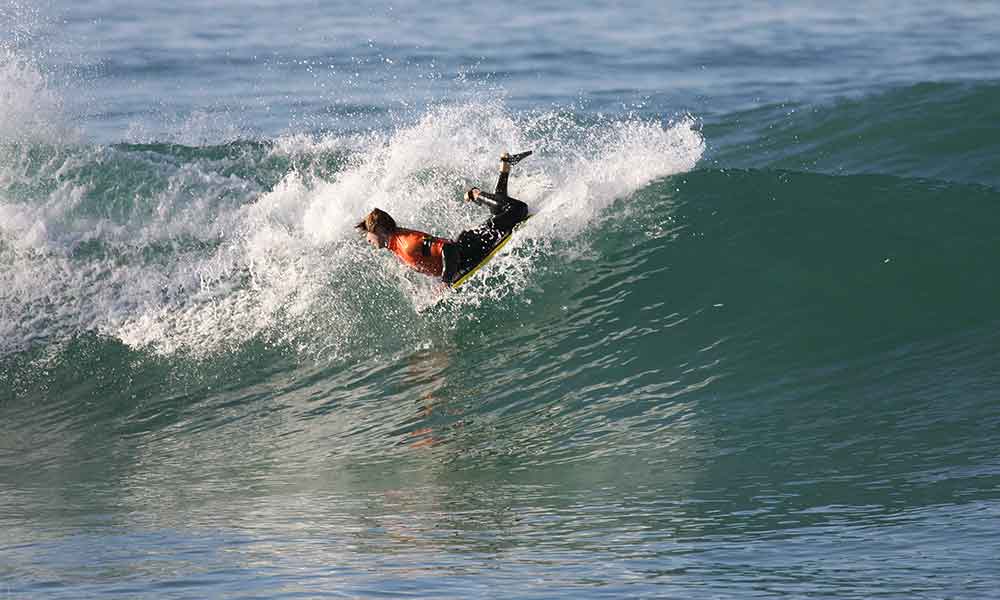
You should be in a prone position on the paipo board when the wave hits, at which point it will push you forward.
Keep your arms outstretched in front of you with your hands gripping the nose and your torso positioned on the lower part of the board.
As with everything else, it takes a little practice to get this right.
If you’re a stand up surfer, it may feel a little strange to begin with, but your experience riding waves will help you and should shorten the learning curve.
Check the surf reports, practice riding waves, and watch a few YouTube videos to see how the pros do it.
You will be bellyboarding like a master before you know it!
How Do You Make a Paipo?
If you can’t afford a paipo board, want to save a few bucks, or just want to put your DIY skills to the test, why not consider making your own?
Paipo boards are relatively simple to make, but you will need a few basic materials and skills.
Follow these steps to make a paipo board:
- Create your own paipo board template or find one online.
- Draw the template onto a plywood sheet.
- Cut the outline with a jigsaw.
- Pour hot water onto the nose and bend it ever-so-slightly for the rocker.
- Smooth the rails and edges with sandpaper.
- Clean, dry, and apply a coat of varnish.
- Wait for your paipo board to dry.
That’s all there is to it! Once you have your new paipo board, you can design it however you wish.
Summary: Riding Waves with a Paipo
Paipos or bellyboards are fun wave riding tools, but they’re designed to plane the surface and not to float.
As a result, they can be tricky and it’s important to do your research and make sure you’re prepared before you ride.
The above guide will help you. Just make sure you have a good wetsuit, study the waves, and buy a quality paipo board.

