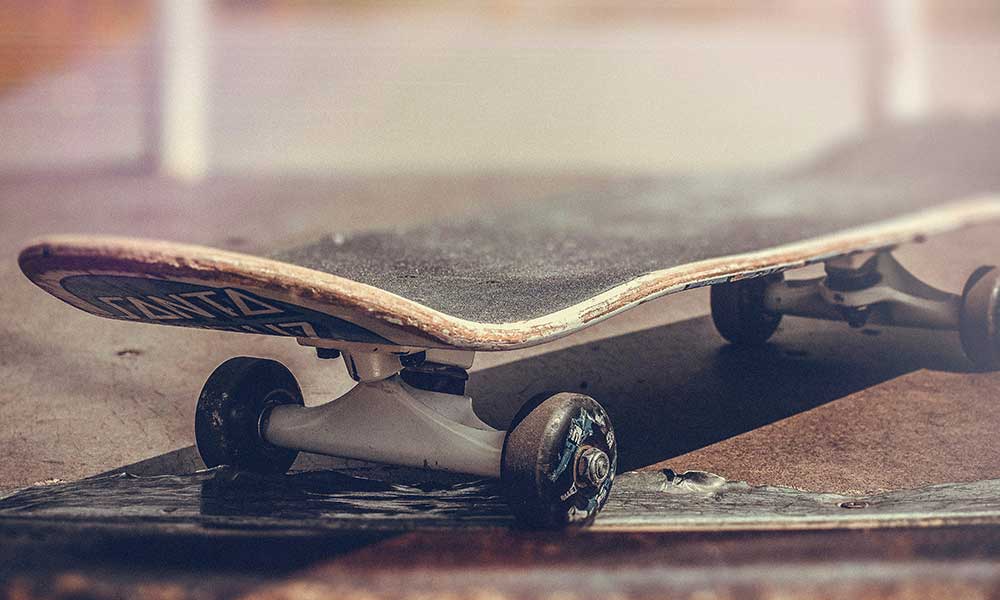
Can’t find a skateboard design that you like? Want to create a design that is completely unique? If so, it’s time to buy some spray paint and get creative!
We’ll show you how to paint a skateboard deck safely and quickly, giving you a design that makes you stand out the next time you’re at the skatepark.
Step By Step Guide to Painting a Skateboard Deck
Painting a skateboard isn’t just about removing the trucks and wheels and then coating the deck in spray paint. There are a few steps you must follow to ensure the paint adheres, lasts, and looks the part.
Step One: Prepare Your Area and Materials
There’s going to be a lot of sawdust and paint, so don’t wear your best clothes, wear a mask, and work in a well-ventilated area.
Cover your worktable with an old sheet and use a tarp to protect anything that you don’t want to be destroyed.
You’re going to need a few basic tools and supplies, including:
- Wrench
- Sandpaper (40 grit, 150 grit, and 220 grit)
- Stiff-Bristled Brush
- Face Mask
- Goggles
- Sticky Tape
- Aerosol Primer
- Tack Coat
- Paper Towels/Rags
- Spray Paint
- WD-40 (optional)
- Wood Filling Paste (optional)
- Paper/Pens/Stencils (optional)
Step Two: Prepare the Skateboard Deck
Remove the trucks from your deck and disassemble everything. Place the trucks, wheels, plates, and screws somewhere nearby and make sure they don’t roll away.
If you have an older skateboard, the nuts might be difficult to remove. This is where the WD-40 comes in. Give it a squirt to loosen the nuts before pulling them out.
Step Three: Start Sanding
Place the skateboard so that the current graphics are facing up. If you have an electric sander, add some 40 grit, and start sanding those graphics away.
If not, you can sand by hand, but it’ll take you a long time. If there are no graphics, skip this step.
Once you have finished sanding the graphics away, use 150-grit sandpaper to give everything a smooth finish. You may also need to do this if the skateboard doesn’t have graphics but still has a rough finish or has accumulated lots of nicks, dirt, and grime over the years.
This is the longest and most boring part of the process, but it’s also the most important.
Wear a mask and goggles to keep the sawdust out of your eyes and lungs and be patient.
Step Four: Clean Your Skateboard Deck
Brush the sawdust away using a stiff-bristle brush. The final skateboard should be smooth and free of rough patches and loose sawdust.
If you don’t have a stiff-bristle brush, use a lint/fuzz-free rag instead. Avoid using a wire bristle brush or anything else that might scratch your deck.
Step Five: Repair Damage
If your skateboard is damaged, repair it. Pick up some wood filling paste (available at most hardware stores) and apply it to chips and cracks. The paste will fill those cracks and harden, after which you can sand it away with 150 grit sandpaper.
You’ll need to wait about 24 hours for the paste to dry completely, so it’s going to delay the process a little, but it’s important.
Fixing minor issues now will prevent them from worsening in the future.
Step Six: Tape Your Deck
Place tape along the rails and over the topside screw holes. The paint will drip and run, and if you don’t cover these areas, it could run through to the other side.
It doesn’t matter how precise you think you are, you can’t control the paint, so don’t skip this step.
Use painter’s tape or any other kind of tape that won’t adhere too strongly. You don’t want it damaging your skateboard when you peel it away.
Step Seven: Prime the Board with Aerosol Primer
The next step is to prime your skateboard. Aerosol primer is best for this as it guarantees an even coat.
Follow the directions on the primer, which may include specific mixing, application, or drying methods.
After applying the first coat, wait until the primer dries, and then add another coat. A second layer will provide an optimum surface for the spray paint.
Step Eight: Sand Again
Use 150 grit sandpaper to add a smooth finish to your primed skateboard deck. The goal is to ensure that all irregularities are removed, including blisters, bubbles, and clumps.
After sanding, use the brush or rag to remove bits of primer sawdust and prepare the skateboard for the next step.
Step Nine: Add a Tack Coat
A tack coat will clean the primed wood and ensure it’s ready for the spray paint. It’s a thinning agent and it should match the type of acrylic spray paint that you’re going to be using on your deck, such as a lacquer thinner as opposed to a paint thinner.
Use a small amount and apply it with a wet rag.
Step Ten: Create Your Design
What design do you have in mind for your skateboard deck and how are you going to achieve it? Do you have a stencil? Are you going to create your own?
Use strips of painter’s tape/masking tape to create your own original design, putting this tape on areas that you don’t want to be covered. Alternatively, sketch your design on a piece of card or paper, cut it out, and use it as a stencil.
You can also purchase some pre-designed stencils online or from craft stores.
If you’re new to all of this and don’t have much artistic skill to speak of, keep it simple. Choose straight lines and basic geometric patterns. Alternatively, pick up a stencil online, think about what colors will look best, and run some tests on paper to ensure it looks how you want it to look.
Step Eleven: Paint Your Skateboard Deck
Once you have your design planned and prepared, it’s time to start painting!
Before using the stencil or tape, consider spraying a base color over the skateboard. This will serve as your background and once it is completely dry, you can add the stencil and get to work.
Add as many layers as you wish, but always wait for one layer to completely dry before moving on to the next one.
Step Twelve: Finish The Job!
Now that you’re finished the paint job, you’re ready for a light sanding to finish it off.
Use 220 grit paper to give it a final polish and provide a uniform finish. Clean away the sawdust after sanding and there you have it, a cool skateboard deck with an original design!
What Paint Do You Use On A Skateboard?
Acrylic spray paint is best for painting a skateboard. You may struggle to apply an even and controlled finish with paintbrushes and it’s much easier to use stencils with spray paint.
Can I Use Acrylic Paint On A Skateboard?
Yes, you can use acrylic paints, and they are the best paints for the job. If you want something a little more precise than spray painting, pick up some acrylic paint sticks. These are great for artists who have good freehand skills and want something a little more intricate than a simple stencil design.
Do I Need To Sand My Skateboard Before Painting?
Yes, you should sand your skateboard before applying primer and paint. It will ensure the skateboard is even and this will help the paint to adhere better.
Wear a mask and goggles while sanding and stay in a well-ventilated and enclosed area. You should also wear an old t-shirt and other clothing that you don’t mind ruining, as there’s going to be a lot of sawdust and paint.
Can I Paint the Top of My Skateboard?
You can, but you probably shouldn’t. You need grip tape on the top of your skateboard and if you remove this and apply paint, you’ll be sacrificing practicality for style.
Skateboard decks typically feature designs on the underside only.