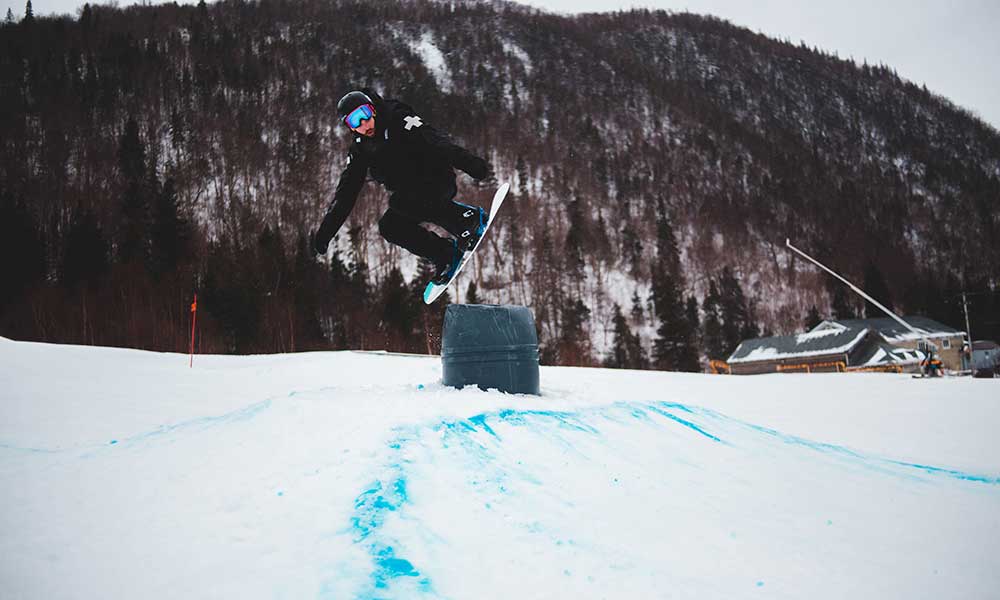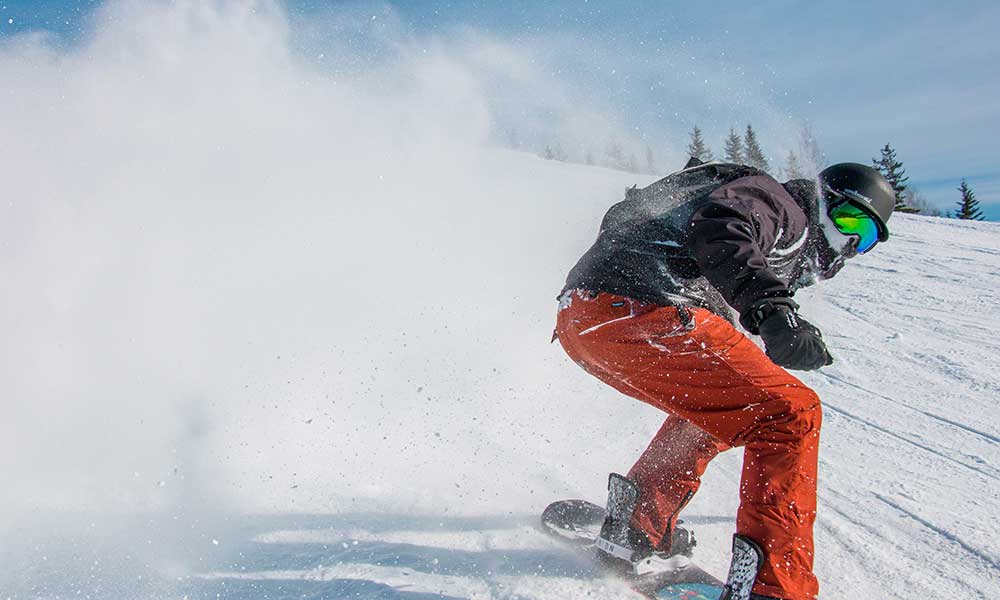
Installing snowboard bindings is much easier than you might think.
Learning how to install them yourself is also essential if you want to better understand your snowboard and prevent costly shop visits every time you need some new bindings or a repair.
The following article will guide you through the process of installing bindings in a way that should work with most setups.
Step One: Get the Right Bindings
The first step is to make sure that you have the right snowboarding bindings for your foot and snowboard.
You can adjust the bindings to suit your foot size and shape but the bolt mounting patterns will need to match your snowboard.
Make sure you buy bindings that match the manufacturer—if you have a Burton snowboard, buy Burton bindings
Step Two: Find Your Lead Foot and Bindings
Your lead foot is the foot that goes at the front of the snowboard.
If it’s your left foot, you will adopt a Regular stance; if it’s your right foot, it will be a Goofy stance.
If you play soccer, you’ll probably know what your dominant foot is as it’s the one that you kick with.
If not, there are a couple of things that you can do.
The first is to skid across a slick surface in your home wearing your socks—come on, we’ve all done it.
The lead foot is the one that you place further forward, the one that enters the skid first.
It might seem strange, but if you’re right-footed (which means you kick with your right) then you will probably skid with your left, in which case that will be your lead foot.
You can also ask someone to gently push you from behind, as your lead foot is the one that you instinctively use to right yourself.
Once you have found your lead foot, you need to distinguish your right binding from your left binding.
For this, you can just look at the shape of the bindings as it should curve just like a right/left boot.
The straps will help, as well, as they begin on the inside of the foot and buckle on the outside.
Step Three: Discover Your Stance Width and Biding Angles
Your snowboard should have markings for both of your feet.
This is where you should start, before adjusting it to a wider or narrower stance as need.
The stance width, binding angle, and binding position can all be adjusted.
The only way to understand the most comfortable stance width and position is to set the bindings, hop on the snowboard, and see what feels comfortable based on your riding style, height, and natural tendencies.
The binding angles can be turned forward or backward, and there are several variations in between.
As a beginner snowboarder, you should angle the bindings away from one another in what is known as the “duck stance”.
When you have a little more experience, you can experiment with adjusting the stance angles to find the one that is most comfortable.
Step Four: Mount the Snowboard Bindings
Now that you’re learned where to place your front foot and back foot, how to set the stance width, and what to do about the binding angles, it’s time to mount those bindings!
How to Attach Burton EST Bindings
Remove the Channel plug at the front of the snowboard, slide the inserts, and reinsert the plug.
Place the front binding over the Channel, loosely insert the binding screws, move the binding to your desired stance, turn it to the right angle, and tighten the screws.
Repeat the process for the back binding.
How to Attach Bindings with Discs
Grab the front foot binding and the disc and place it at your chosen angle.
The disc should display a check at every 3 degrees, helping you to set the right angle.
If you’re opting for the duck stance mentioned above, you will need 15 degrees for the front binding and -6 degrees for the back binding.
Put the binding and disc over the center mount holes and make sure it’s centered.
Loosely attach the binding screws, double-check that everything is centered, and then tighten the screws.
Repeat the process for the back binding.
How Should Snowboard Bindings be Set for Beginners?
There is no definitive “beginner style” when it comes to bindings but most agree that either the duck stance (outlined above) or something known as a mirrored duck stance (set at +15 and -15 degrees) are the best options.
As far as the stance width is concerned, it should be slightly wider than shoulder width.
However, as with everything else, it comes down to personal preference, riding style, and whatever makes you feel comfortable.
How Much Does it Cost to Put Bindings on a Snowboard?
You can expect to pay anywhere from $25 to $50 to pay a shop to install bindings.
They will mount them for you and then test them to ensure they are secure and right for your needs.
Summary: Snowboard Bindings
Bindings are not that difficult to install, and whether you have the Burton setup or binding discs, it’s a relatively straightforward process.
It will take a little preparation, but it’s something that you should learn yourself.
After all, if you mount them at home, you will know how to adjust as needed and you will feel more confident making those adjustments.